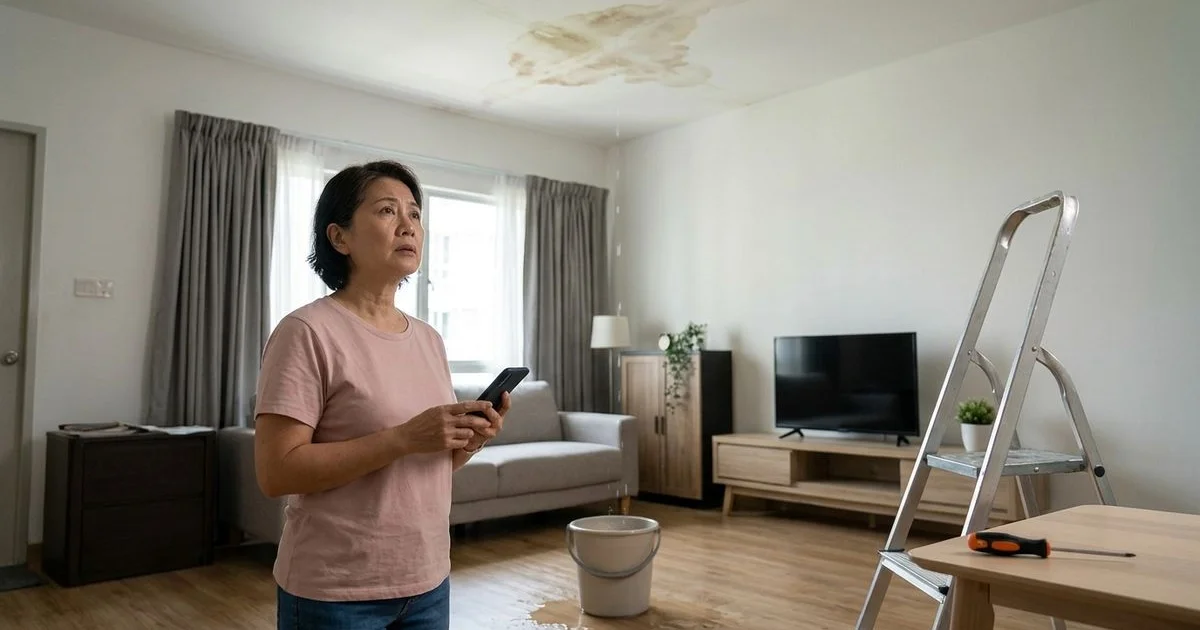
As a professional waterproofing service team handling both commercial facilities and residential properties across the Klang Valley, we see the same scenario every rainy season. A sudden downpour hits the city, and property managers realise their aging flat roof has finally given way under the pressure.
Our roof waterproofing interventions stop these immediate leaks and prevent long-term structural decay.
Kuala Lumpur deals with intense weather, receiving roughly 3,247mm of average annual rainfall according to recent meteorological data. That sheer volume of water will quickly exploit any weakness or hairline crack in your building envelope.
If you are wondering what to expect during a roof waterproofing job in KL, we are going to walk through the exact steps of a professional project, outline typical material costs, and explain the rigorous testing procedures required for a permanent fix.
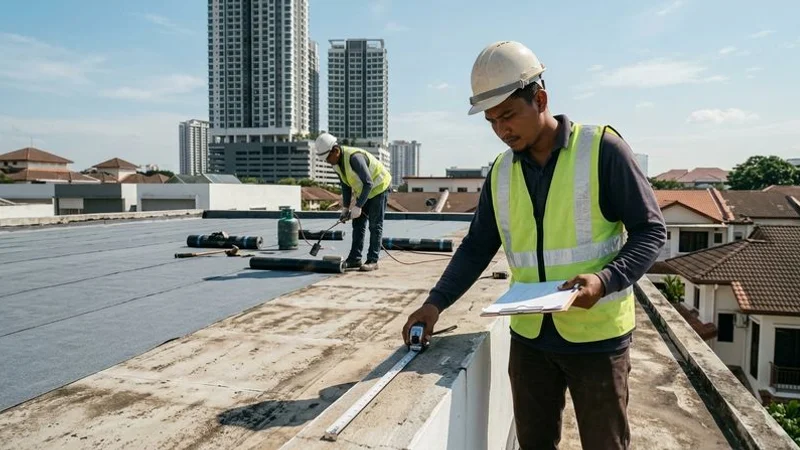
What to Expect During a Roof Waterproofing Job in KL: The Initial Inspection
Our inspection process relies on hard data rather than guesswork. High-resolution infrared thermal imaging cameras are used to scan the ceiling and roof slab before we even touch a tool.
We use these thermal scans to detect hidden moisture pockets beneath the concrete surface long before they become visible water stains inside your property.
If you manage a condominium or live in a strata property, resolving leaks often involves strict legal protocols. We regularly assist Joint Management Bodies (JMBs) by providing the detailed inspection reports required for the Form 28 process under the Strata Management Act 2013 to legally prove inter-floor leakage sources.
Core Assessment Steps
Our team outlines the following critical factors during the initial site visit:
- Examine the roof surface: We look at the condition of existing materials, identifying cracks, ponding areas, and previous repair attempts.
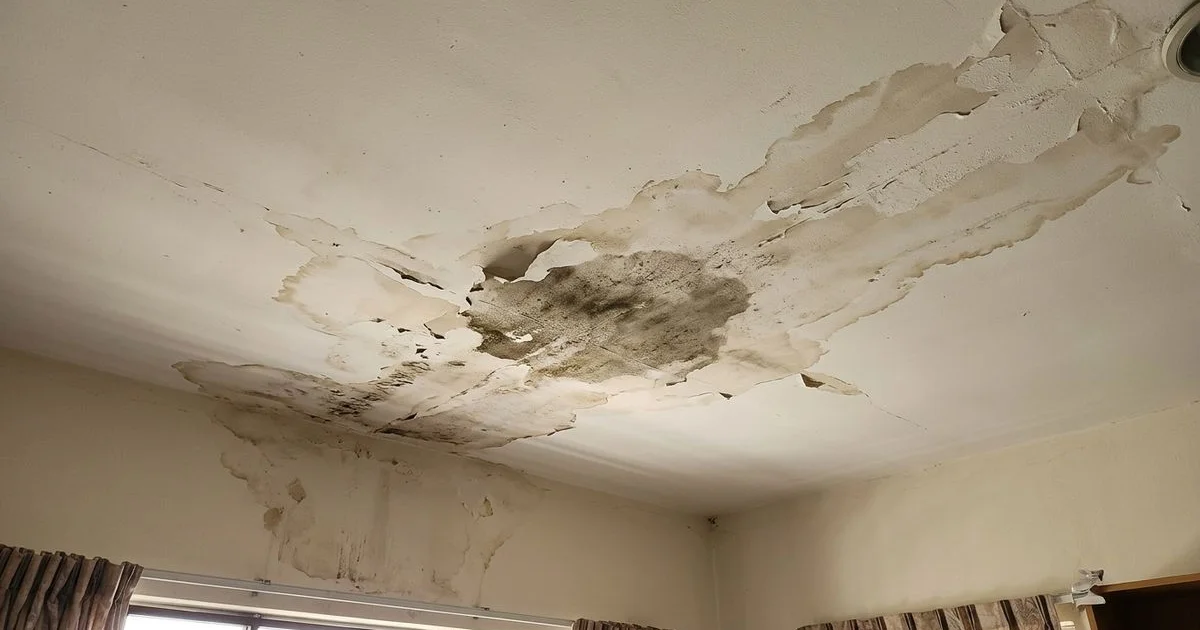
- Inspect internally: Ceilings directly below the roof are checked for water stain patterns that indicate exact leak paths.
- Assess the substrate: We determine whether the concrete surface is sound enough for new waterproofing or if it requires heavy patching first.
- Measure the area: Exact square meterage is calculated to determine the required chemical volumes.
- Discuss options: We explain which waterproofing method is most suitable for your specific structural issue and budget constraints.
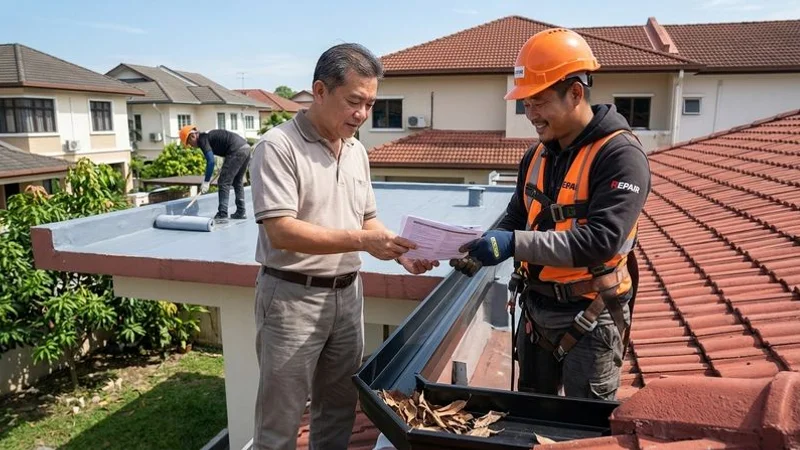
The Quotation Process
The quotation process needs to be completely transparent. We typically turn around a detailed proposal within 2 to 3 business days after the site visit.
- Inspections are typically free of charge for most reputable contractors within the Kuala Lumpur region.
- The visit usually takes 30 to 60 minutes, depending heavily on the property size and access.
- Quotations must itemise all preparation work, raw materials, and labour costs separately.
- Ask about the warranty length, which typically ranges from 1 to 3 years for injection repairs to 5 to 10 years for full membrane systems.
Phase 2: Preparation Before the Work Begins
Our project managers closely monitor the Malaysian Meteorological Department (MetMalaysia) forecasts before starting any exterior application.
Applying chemical membranes during an unexpected afternoon thunderstorm will completely ruin the curing process.
We require a clear window of 2 to 3 consecutive dry days to ensure the products bond correctly to the concrete substrate.
Material Sourcing and Logistics
Once you accept the quotation, the physical preparation phase begins immediately. Commercial-grade materials are sourced from specialist suppliers rather than general consumer hardware stores.
Our professional applicators rely on proven industrial brands like Sika or Pentens to ensure long-lasting results in this harsh tropical climate.
- Order materials: Sourcing the exact polyurethane or bituminous compounds required for your specific roof type.
- Coordinate scheduling: Booking the labour force to align perfectly with the required dry weather window.
- Arrange equipment: Organising heavy compressors, industrial pressure washers, or gas torches for the application phase.
What You Should Prepare
Our team needs clear access to the site to work safely and efficiently. You can significantly speed up the project timeline by preparing the area beforehand.
- Clear the roof area: Remove any items stored on the roof, including potted plants, drying racks, and outdoor furniture.
- Protect interiors below: Cover valuable furniture and sensitive electronics in the rooms directly beneath the work zone.
- Inform your neighbours: Let adjacent neighbours know about the scheduled work, especially in terrace houses where heavy drilling noise travels easily.
- Arrange vehicle access: Ensure the crew can park a truck close to your property to unload heavy liquid pails and machinery.
- Identify water points: Point out the nearest running water access for the high-pressure surface cleaning stage.
Phase 3: Surface Preparation (Day 1)
We consider surface preparation the single most critical phase of the entire job. Applying expensive new membranes over dirt, algae, or flaking concrete guarantees a premature failure.
Our technicians start by stripping the entire surface using commercial high-pressure washers operating between 2500 and 3000 PSI.
This intense water pressure easily removes stubborn moss and degraded old coatings that a standard garden hose cannot possibly touch.
Typical Steps for a Clean Substrate
The roof must be structurally sound before any liquid chemical is poured. We systematically repair every minor defect to create a flawless, continuous base layer.
- High-pressure washing: The roof surface is thoroughly blasted to remove loose material and completely delaminated coatings.
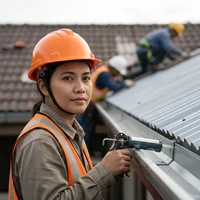
- Crack and defect repair: All cracks and holes are filled securely using a high-strength, cementitious non-shrink grout.
- Joint treatment: Expansion joints are cleaned out and treated with a flexible polyurethane sealant to accommodate future building movement.
- Ponding correction: If water naturally accumulates in low spots, we apply a cement levelling screed to create proper drainage falls toward the scuppers.
- Drying time: The newly repaired concrete must dry overnight before the chemical waterproofing application can begin.
What You Will Notice On-Site
The preparation stage is often the loudest and messiest part of the project. You will hear significant noise from the petrol-powered pressure washers throughout the entire first day.
- Significant noise comparable to a heavy-duty lawnmower running constantly.
- Heavy dirty water runoff from the cleaning process, requiring completely clear drainage paths.
- Workers moving heavy equipment around on the roof, causing noticeable vibration inside the top floor rooms.
- The roof will temporarily look worse as hidden cracks and severe damage are exposed by the deep cleaning process.
Phase 4: Waterproofing Application (Days 2-3)
Our application methods vary based on the severity of the leak, the roof traffic, and your specific budget. Liquid applied polyurethane (PU) membranes are highly popular for flat concrete roofs in KL, typically costing between RM10 and RM15 per square foot.
This liquid system creates a seamless, flexible rubber-like barrier that easily handles the extreme thermal expansion caused by the intense Malaysian sun.
For Liquid Polyurethane Coating
The liquid coating process builds up heavy protection in multiple, controlled layers. We ensure each wet layer is applied strictly to the manufacturer’s exact thickness specifications.
- Primer coat: A low-viscosity primer is rolled on to penetrate deep into the concrete pores and promote maximum adhesion.
- First coat application: The thick liquid PU waterproofing is applied evenly using specialized heavy-nap rollers.
- Reinforcement fabric: A tough fibreglass mesh is embedded directly into the wet first coat at critical stress points like sharp corners and drains.
- Second coat: Applied perpendicular to the first coat for complete, cross-hatched coverage without any thin spots.
- Drying time: We allow 6 to 12 hours of curing time between coats, depending entirely on ambient humidity and temperature.
For PU Injection (Targeted Crack Repair)
When dealing with localized leaks penetrating straight through a concrete slab, PU injection grouting is a fast and highly effective internal solution. This targeted method typically starts at around RM45 per injection point.
We use a specialized hydrophobic polyurethane resin for this exact process. As the resin is pumped into the crack, it reacts violently with the moisture inside the concrete and rapidly expands into a dense foam, permanently sealing the void from the inside out.
- Injection hole drilling: Small diagonal holes are drilled along the visible crack line at 150 to 200mm intervals.
- Packer installation: High-pressure metal injection packers are securely inserted and tightened into the drilled holes.
- Resin injection: The liquid PU resin is pumped through the individual packers under controlled, high mechanical pressure.
- Expansion and curing: The resin expands up to 20 times its original liquid volume to fill the entire hidden crack network.
- Packer removal: Once the foam fully cures into a solid rubber, the metal packers are removed and the wall holes are patched flush.
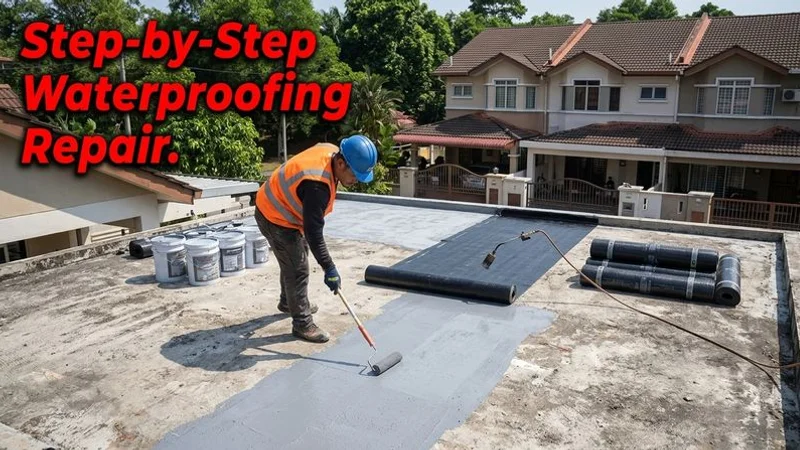
For Torch-On Membrane
Bituminous torch-on membranes provide a heavy-duty physical barrier against standing water. We frequently install these thick sheets on larger commercial rooftops that experience light foot traffic.
- Primer application: A solvent-based bitumen primer is applied to the prepared concrete surface.
- Membrane laying: Heavy rolls of modified bitumen are heated from below with a high-output gas torch until the underside melts into a sticky tar.
- Overlap sealing: Each strip overlaps the previous one by exactly 100 to 150mm, and the seams are melted and heat-sealed together.
- Detail work: Extra attention is given to pipe penetrations and vertical wall upstands to prevent the edges from curling over time.
Phase 5: Curing and Testing (Days 3-5)
Our quality control process requires strict patience during the final chemical curing phase. Polyurethane waterproof paint dries to the touch within 4 to 8 hours, but it requires a much longer undisturbed window to reach full mechanical strength.
We wait a full 24 to 72 hours before subjecting the new membrane to any heavy standing water.
The Mandatory Flood Test
A responsible contractor must conduct a flood test, also known as a ponding test, to verify the absolute integrity of the new seal. Do not accept the repair work as finished without this crucial verification step.
- All roof drainage outlets are temporarily blocked using specialized inflatable rubber plugs.
- Clean water is added to the treated roof area to a consistent depth of 50 to 75mm.
- The water level is maintained and carefully monitored for a full 24 to 48 hours.
- The ceiling directly below is inspected visually and with thermal cameras for any signs of moisture penetration.
- If the concrete slab remains completely dry, the test is passed, and the drainage outlets are safely reopened.
Phase 6: Handover and Warranty
Our final handover includes all the formal documentation you need for your property management records. We provide a clear, itemized breakdown of the exact products used and the specific warranty coverage details.
Warranties typically cover sudden product failure and obvious workmanship defects.
What You Should Receive
The paperwork is just as important as the physical chemical application. You need these specific documents on hand if an unexpected issue arises years down the line.
- Written warranty certificate: Specifying the 1 to 10-year coverage period, exact terms, and the formal claims process.
- Product technical data sheets: Confirming the exact chemical compounds and brand names used on your property.
- Before-and-after photographs: Documenting the severe initial damage and the completed, seamless installation.
- Maintenance instructions: Simple guidance on keeping the surface clean to naturally maximise its lifespan.
- Invoice with full breakdown: Matching the original accepted quotation, with any requested variations clearly explained.
Post-Completion Monitoring
We recommend visually inspecting your flat roof at least twice a year. The Malaysian climate is incredibly unforgiving, and early detection of minor surface wear prevents major interior damage later.
- Check the ceiling below after heavy rains: Wind-driven storm rain can occasionally find obscure lateral paths that a static flood test missed.
- Watch for surface bubbling: If you notice round blisters forming under a liquid membrane, it indicates trapped concrete moisture trying to escape as vapor.
- Keep drainage paths clear: Ensure roof gutters and wall scuppers connected to the area remain entirely free of dry leaves and debris.
- Report any issues promptly: Contact your contractor immediately if you spot a defect while the official warranty is still active.
How Long Does the Entire Process Take?
Our scheduling timeline depends heavily on the chosen application method and the sheer size of the leak. A simple PU injection job inside a bathroom might be completed in a single afternoon, while a full commercial membrane replacement takes several days of active labour.
The table below outlines a typical, realistic schedule for a residential flat roof area of 50 to 100 square metres in Kuala Lumpur.
| Phase | Duration |
|---|---|
| Inspection and quotation | 3 - 7 days |
| Preparation and scheduling | 3 - 14 days (weather dependent) |
| Surface preparation | 1 day |
| Waterproofing application | 1 - 3 days |
| Curing and testing | 1 - 3 days |
| Total (from quotation to handover) | 1 - 4 weeks |
The biggest variable in Malaysia is always the weather. Sudden afternoon thunderstorms will force us to pause surface preparation and application work immediately to protect the materials.
Final Tips for KL Homeowners
Our final piece of advice is to act immediately before the water problem becomes structurally critical. Delaying minor leaking roof repair usually leads to expensive concrete spalling and highly dangerous electrical damage inside your ceiling cavity.
We suggest scheduling major roof assessments during the drier months, typically between June and August, to avoid frustrating weather delays.
- Get everything in writing: Insist on a highly detailed scope of work, warranty terms, and a clear payment schedule before paying a deposit.
- Pay in stages: A standard, fair payment structure is a 30% deposit, 40% upon physical completion, and the final 30% only after a successful flood test.
- Ask about maintenance visits: Some professional firms offer annual inspection packages that significantly extend the effective waterproof life of your new coating.
Knowing exactly what to expect during a roof waterproofing job in KL helps you set realistic timelines and budgets. Professional roof repair and waterproofing is a serious investment in your property’s long-term structural integrity. Contact our service team today to schedule an inspection, and we will help you secure your building envelope against the next heavy monsoon season.
Farah Hassan
Technical Writer & Project Coordinator
Technical writer and project coordinator specialising in roofing education.